Any pioneering project that cannot safely stand by itself needs to be attached to something that will securely hold it in place. It has to be anchored. Sometimes nature will provide a tree or rock in just the right location or you might be able to shift the project’s placement to take advantage of a natural anchor. On all other occasions, anchors need to be built that will assure the structure’s stability.
Stakes – When nature does not provide a solution, anchors can be built using strong pioneering stakes. The common size of stakes for most Scout Pioneering projects is 2-1/2-inches in diameter and about 24 to 30 inches long. After cutting the stake to this size, cut a point on one end. It’s good to bevel the top edge to minimize mushrooming or splitting when the stake is driven into the ground. Long-lasting pioneering stakes are made of hardwood, such as oak or hickory.
Drive the stakes into the ground at about a 20° angle. Soil conditions can vary and will dictate how large and long a stake you need. The main thing is to make sure all stakes are deep enough so they don’t wobble or budge at all.
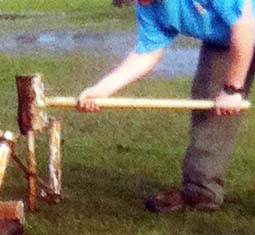
Mallet – When driving stakes into the ground, it’s best to use a wooden mallet. Using a metal sledge hammer can more easily damage the stake. To make a wooden mallet, cut a 4-inch diameter piece of hardwood, such as hickory, elm, or sycamore, to about 11 inches length. It should weigh about four pounds. Drill a 1-1/8 inch diameter hole to mount the handle. The handle can be made from a 24 inch length of hardwood (similar to making a stake). Use a knife or ax to round the end of the handle to fit the hole in the mallet head. Secure the handle in place with a wedge placed crosswise to the length of the head.
Guylines – When attaching a guyline, make sure its contact with the stake is as low to the ground as possible. If the guyline is placed or slips higher on the stake, there will probably be enough leverage to pull the stake loose. Guylines should be secured to the structure about 3/4 of the way up. To determine how long a guyline should be, measure the height at the point where its attached and double that distance. That’s how far away the anchor should be from the pole. For example, if the guyline is attached 10 feet up the pole, the anchor should be a minimum of 20 feet from the base.


3-2-1 Anchor – As the name implies, the 3-2-1 anchor is made by driving stakes in a series: three stakes, then two stakes, and then one stake to form the anchor. First drive in the set of three stakes. Next drive in the set of two stakes about 24 inches away from the first set. Finally, drive a single stake in the ground about 12 inches from the two-stake set.
Connect the stakes by tying a rope from the top of the three-stake set to the bottom of the two stake set, and from the top of the two stake set to the bottom of the single stake. Use at least two loops of 1/4 inch manila rope, or six to eight loops of binder twine. Then twist the rope tight using a small stick as a tourniquet. After the rope is twisted tight, push the end of the stick in the ground to keep it from unwinding.
Depending on the strain the anchors need to withstand, you can use other configurations, such as 2-1-1, or 1-1-1, or even 1-1 for a light strain.
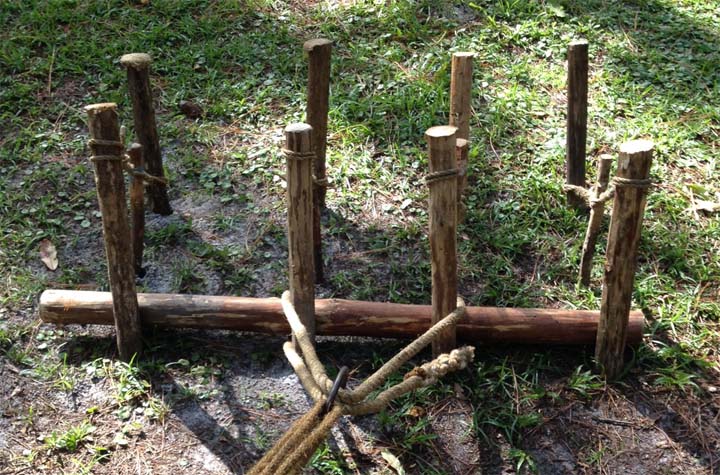
Log-and-Stake Anchor – This type of anchor is easy to make and can hold a considerable amount of pull. You can tie the line directly to the log, or you can use a ring with a rope grommet as shown in the photo below. To make the log-and-stake anchor, place a log 4 to 6 inches in diameter perpendicular to the pull of the line. Then drive in four large stakes in front of the log. Next, slip the rope grommet through the ring and then slip the ends of the grommet around the log. Drive a second row of stakes 24 inches behind the front stakes. Then anchor the front stakes to the rear stakes with a tourniquet made of binder twine or rope.
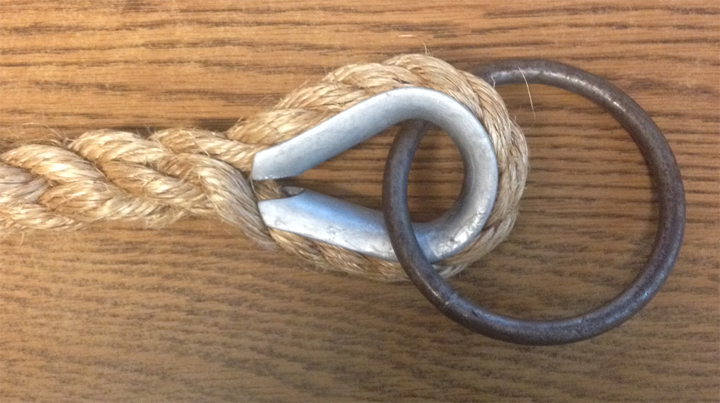
Strops – When attaching lines to a natural anchor such as a tree or large rock, a strop can be used very effectively. Splice a thimble with a large ring to a 10-15-foot length of 1/2-inch diameter manila or polypropylene rope. A piece of canvas or burlap should be used to protect the rope from sharp edges of a rock or to protect the bark of the tree from rope burns.

Rope Grommets – Rope grommets are useful when attaching a long line to an anchor of stakes. A large grommet can be made by splicing together the ends of a 10-foot length of 1/2-inch polypropylene or manila rope. If you don’t have a spliced grommet in your pioneering kit, tie the ends of the rope with a carrick bend. Be sure to secure the ends. The grommet you use must be made of a larger-diameter rope than the lines they’re connecting, to avoid creating a weak link in the chain between the structure and the anchor.

Rope grommets can be applied in a variety of configurations. In the above photo, a large ring connects the three ropes from a monkey bridge (left) to a rope that is reeved back and forth between that large ring and the ring of a rope grommet (right), which in turn is attached to the anchor.