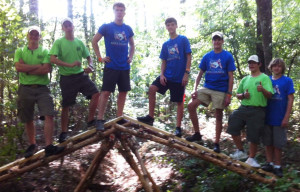
The Single Lock Bridge is a well established and basic design. Over the years it has stood out as a remarkable example of real Scout engineering.
This list of spars will build a bridge to span a creek or ravine approximately 4 feet deep and 18 feet from bank to bank:
- four 6-foot x 3-inch trestle legs
- four 4-foot x 2-1/2-inch trestle ledgers
- one 4-foot x 3-inch trestle transom spar
- four 6-foot x 2-inch cross braces
 four 10-foot x 3-inch walkway lateral spars
- twelve 3-foot x 2-inch walkway cross spars
- four 3-1/2-foot x 2-inch walkway cross spars
- two 10-foot x 2-inch x 10-inch planks
- four stakes
The bridge consists of four subassemblies: two trestles and two walkways.
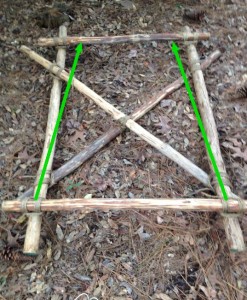
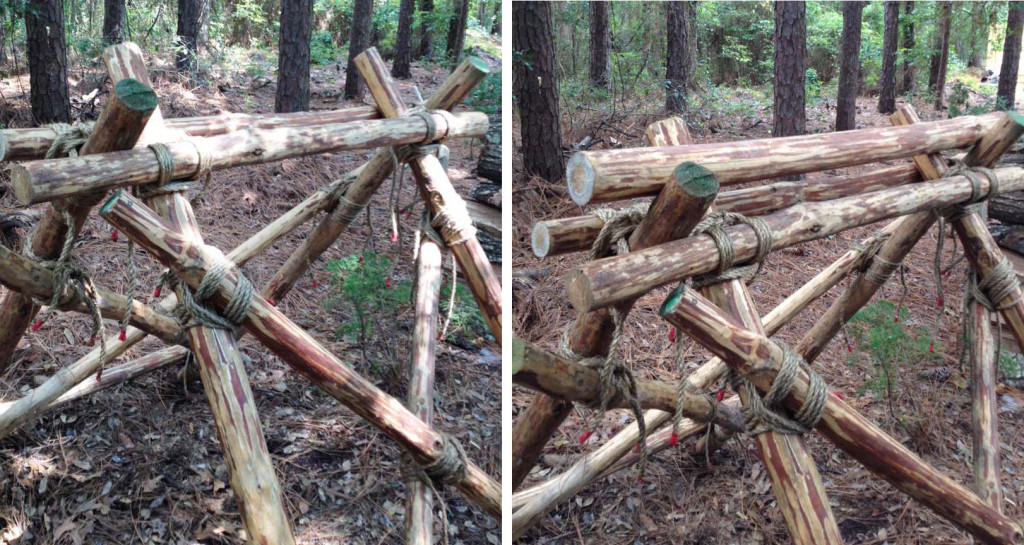
Trestles – If necessary, adjust the length of the spars for the trestle so that when they are placed in the creek, the tops of the ledgers will be about 1 foot above the level of the bank. This will give a comfortable slant to the walkways. Note: When lashing on the top ledgers, leave enough space from the top so when the legs interlock, there’s enough room to fit the transom.
 Walkways – Each walkway consists of two lateral spars, six cross spars, and two longer cross spars. One of these two longer cross spars is used as an underspar at the end of the walkway that is attached to the transom. The other longer cross spar is used to anchor the walkways to the stakes. (Refer to walkways.)
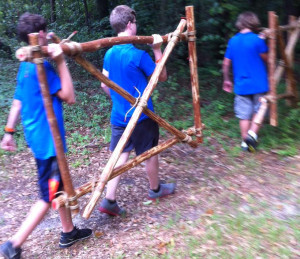
Assembly – After building the trestles and walkways, take them to the assembly site (the creek or ravine). Place the trestles in the center of the creek so that the tops of the trestles are interlocked. Then lift the 3-inch diameter transom spar to fit on top of the interlocked trestle legs.

Now, heel in the bases of the legs in holes 4 to 6 inches deep. As you’re heeling in the legs, level the transom spar so the walkways don’t slant when they’re added.
Next, the two walkways are put into position. Lash the underspars on the walkways to the transom spar with strop lashings at three points. (A strop lashing is easy to tie. Halve the rope, place the midpoint behind what you’re lashing, wrap both ends around the spars a few times and finish with a square knot.)
 Anchoring the Walkways – Finally, to anchor the walkways, drive the stakes in the outside corners formed by the lateral walkway spars and the first (3-1/2-foot) cross spars, and lash the ends of the walkways to the stakes. By lashing the walkways to the transom spar and lashing the ends of the walkways to the stakes, you make a complete walkway unit that will prevent movement and provide a sturdy bridge deck.