Whipping the ends of all your lashing ropes is a practice that will give your ropes good service in the field. Trying to tie knots in ropes with frayed ends is not only a bother but a 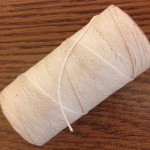 waste of time. Because of the hard usage that ropes get during pioneering activities, all your ropes should be whipped with either a West Country Whipping or a Sailmaker’s Whipping.
The type of whipping cord that you use is most important. Flax cord that is waxed and made of six strands is the best for pioneering work. It’s available in 600 yard spools, is not that expensive, wears very well, is strong, easy to use, and doesn’t stretch.
Half Knot (West Country) Whipping
View Video: Half Knot (West Country) Whipping
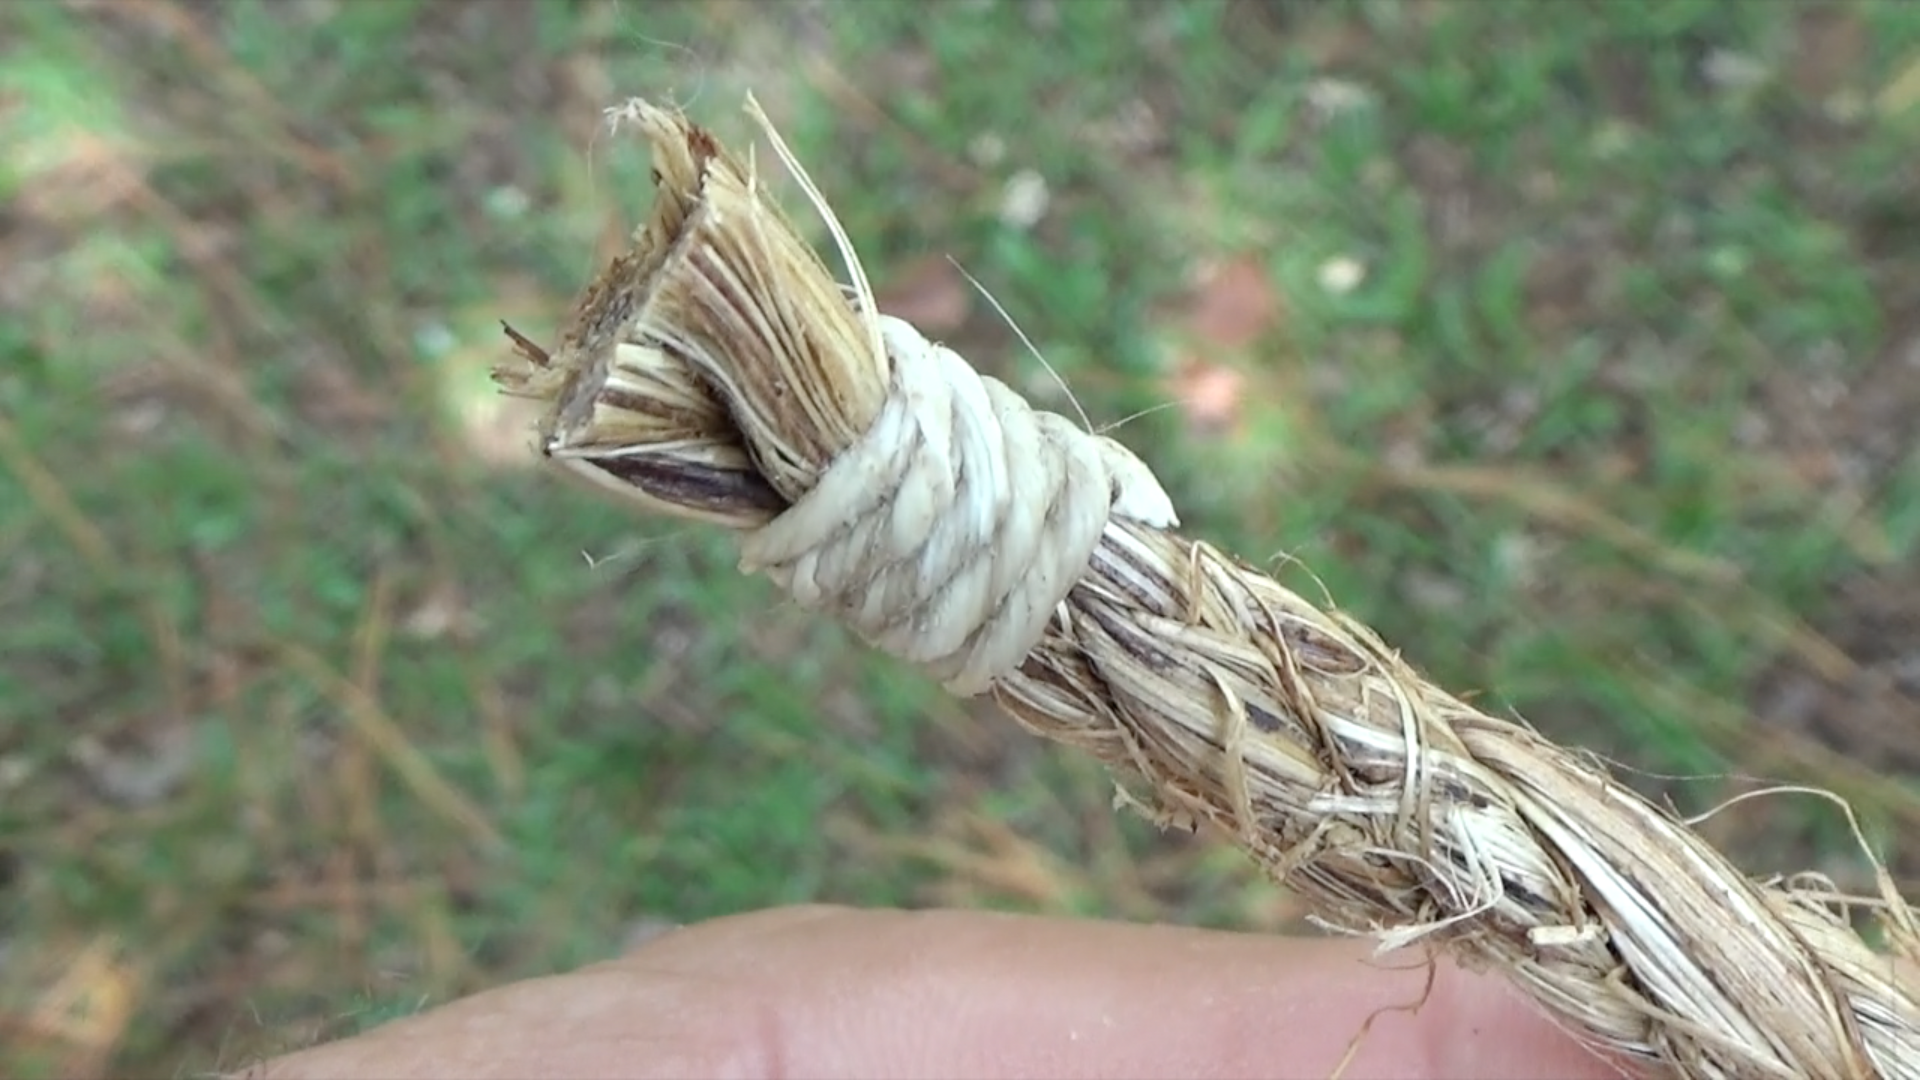 The West Country whipping works equally well on any type of rope, twisted or braided, or rope made from natural fibers or plastic filament. (All plastic ropes should have the end melted back first.) The success of the whipping depends on the tightness of the knots formed by the cord and the interlocking action of the half knots.
To make a Half Knot (West Country) Whipping:
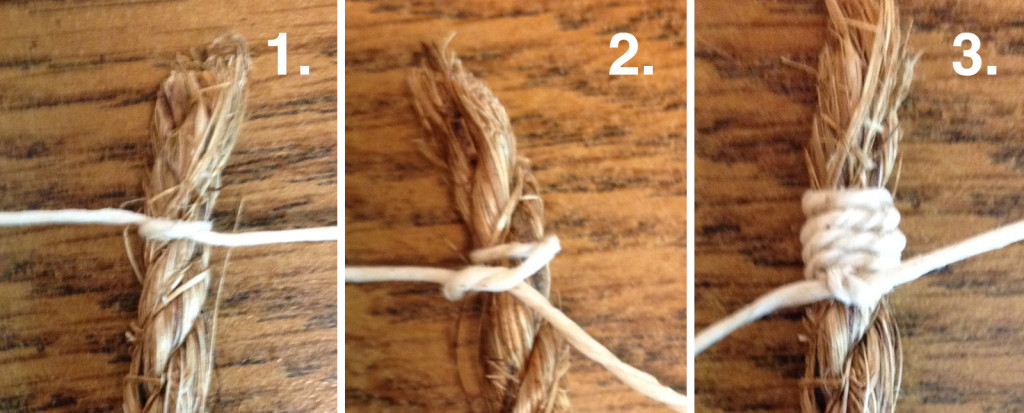
- On a 1/4-inch diameter rope, start with a 14-inch length of waxed flax cord. Wrap the cord about 1/2 to 3/4 of an inch from the end, and tie a half knot (see photo 1). If the rope is badly frayed, it can be pulled together with a clove hitch or constrictor knot to begin the whipping.
- Continue by taking the two ends of the whipping cord around the back of the rope (away from you), and tie another half knot identical to the first (see photo 2).
- Keep repeating the half knots, front and back, pulling each one tight, until the whipping has been formed. The West Country whipping is finished with a square knot and the excess cord is trimmed.
Tie each half knot either right over left or left over right so that the knots lay neatly together and snug against the previous knot to form a smooth finished whipping.
Sailmaker’s Whipping
View Video: Salimaker’s Whipping
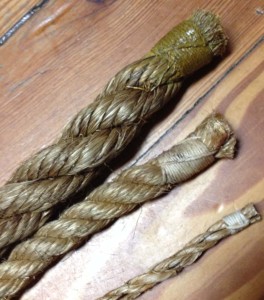
Just the thought of sails and ropes flapping in a strong wind when a sailing ship is under way makes you realize that the ends of the ropes aboard a ship have to be whipped to keep them from unraveling under the strain. Sailmakers knew that a little extra effort spent whipping the ends of the ropes would make their work much easier in the long haul. The reason this whipping holds up better than any other is that the whipping cord is actually intertwined with the strands.
To make a Sailmaker’s Whipping:
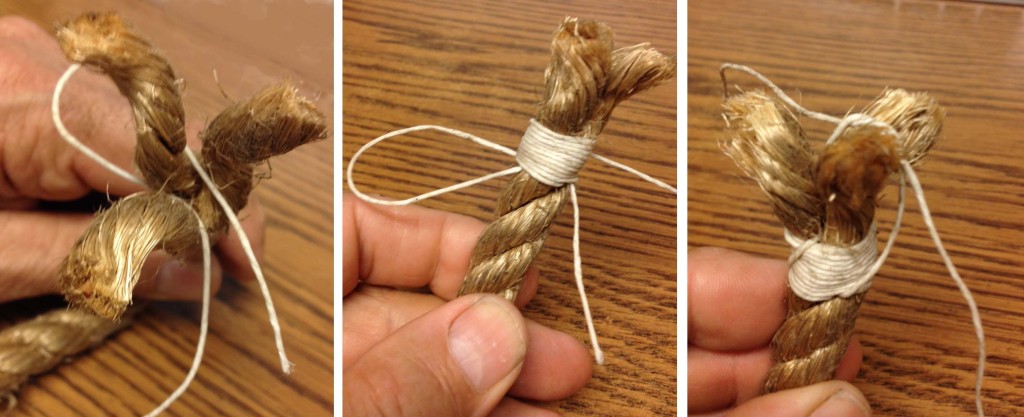
- Unlay the strands about 1 to 1/2 inch and form a bight with the whipping cord.
- Slip the bight over one strand and then lay the two running ends of the cord between the remaining two strands of the rope (as shown below on the left). Keep one end of the whipping cord long, and the other short.
- Re-lay the strands of the rope to form the original twist.
- Wrap the long end of the whipping cord tightly around the rope clockwise, moving toward the end of the rope.
- Keep each wrap tight against the previous one and neatly together (as shown in the middle).
- To complete the whipping, bring the original bight up over the same strand it was originally looped over. Then pull the short end of the whipping cord until the bight is pulled tight on top of the wrappings.
- Place the long end of the whipping cord (the one that did the wrapping) between the next two strands, to the left of the first strand, and bring the short end up, between the same two strands.
- Join the ends of the whipping cord with a square knot, pulling it down tight between the next two strands of the rope and snug on top of the wraps.
- Cut off any excess from the ends of the whipping cord.
This Sailmaker’s Whipping will stay put under hard use.
