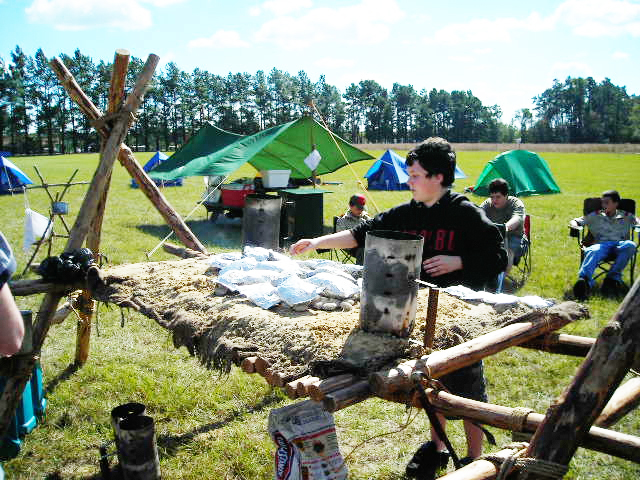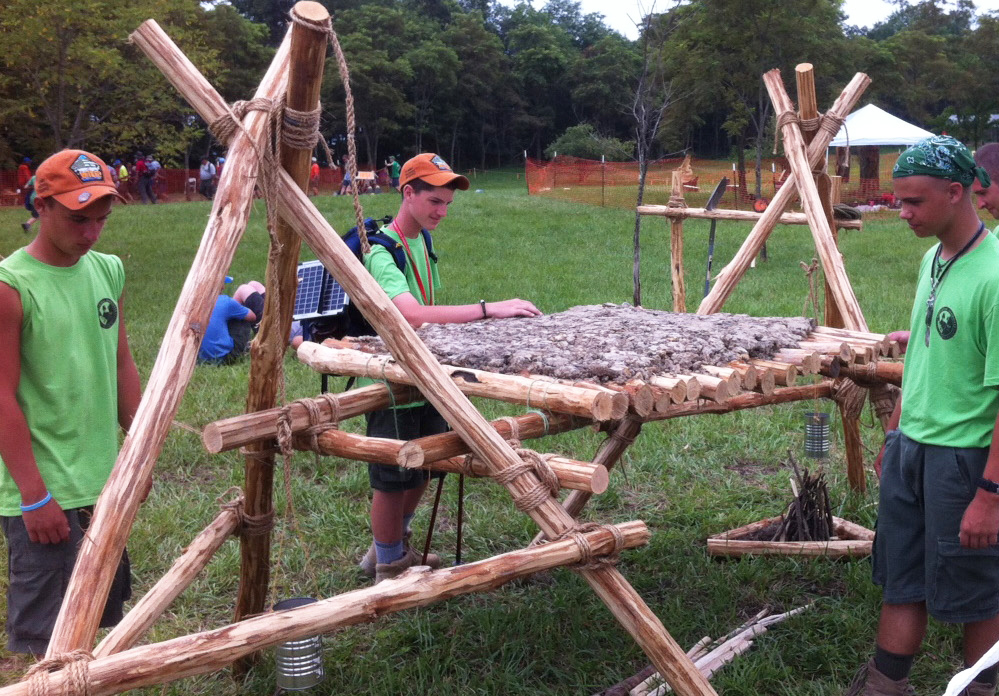
The Chippewa Kitchen comes in many shapes and sizes. This version is the ultimate camp kitchen pioneering project, making a wide range of camp cooking operations more convenient. It provides a raised surface for food preparation, a place to hang pans, Dutch Ovens, tools and utensils, a framework from which pots can be safely suspended over a cooking fire, and primarily, a convenient, raised surface for cooking on hot coals. The double tripod design yields a very stable structure. The size of the cooking area can be varied in accordance with the size of the spars you choose. Scaled down versions work well for a single patrol.
Materials needed for the full-sized kitchen:
- two 8 or 10-foot x 3-inch platform support spars
- six 8-foot x 3-inch tripod leg spars
- two 6-foot x 2-1/2 to 3-inch front tripod braces
- four 6-foot x 2-1/2-inch side tripod braces
- twenty to forty 3 to 4-foot x 2-inch platform spars
- sixteen 15-foot x 1/4-inch lashing ropes
- two 20-foot x 1/4-inch lashing ropes
- binder twine
- burlap or canvas
- mineral soil
Here’s a procedure to construct a full-sized, Double Tripod Chippewa Kitchen:
Building the Tripods – Lay three 8-foot tripod legs side by side and lash them together with a tight tripod lashing. Make sure the butt ends are at the bottom and even. (If your kitchen will be staying up for an extended period, make the wraps with racking turns.) Stand the tripod up by crossing the outside legs underneath the middle leg.
Repeat this process for the second tripod.

Lashing on the Tripod Braces – Connect the two outside legs with one of the front 6-foot tripod braces. With square lashings, lash the brace so it is perpendicular to the ground and 3 feet high. (This brace will support the cooking platform, so make sure it’s lashed on securely.)
Lash 6-foot side tripod brace to each outside leg and connect them to the middle leg with square lashings, about 2 feet and 2-1/2 feet high respectfully.
Repeat this process for the second tripod, making sure the front tripod brace connecting the outside legs is again, 3 feet high.
Positioning the Tripods – Place the tripods so the 6-foot front tripod braces (the ones that are 3 feet off the ground) are facing each other. These braces are the ones that will hold up the long platform support spars, which in turn will support the cooking platform. The distance between the two tripods should be close enough so the long platform support spars can extend over each brace by at least 6 inches.
Lashing on the Platform Support Spars – Place the long platform support spars parallel to each other on top of the three foot high tripod brace, on each tripod. Space them apart so the shortest platform spar will extend over their edges by  4 inches on either side. (This will determine whether they’ll get lashed on the inside or the outside of the legs.) Lash them securely in place with square lashings.
Lashing on the Platform Spars – The cooking surface is made up of 3 to 4-foot x 2-inch platform spars, depending on how wide a cooking area will be required. With floor lashings, attach them onto the parallel platform supports using binder twine.
Preparing the Cooking Surface – Prior to adding mineral soil, and to keep the mineral soil from falling though spaces between the platform spars, spread pieces of burlap or canvas over the platform. Finally, cover the platform with a 3 to 4 inch layer of mineral soil to protect the platform spars from the intense heat that will be generated from the coals during cooking.