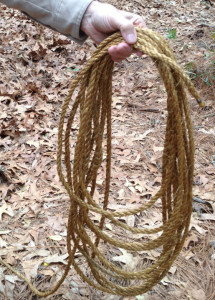
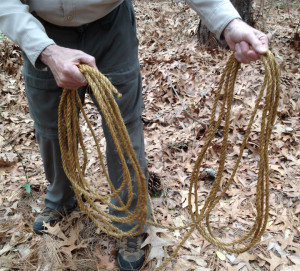
You might never be called upon to throw a line to someone in distress; however, it’s always good to be prepared. In addition, many pioneering activities call for coiling and throwing a line to get it across a creek or ditch, or up and over a high tree branch. How you make the coil is very important. To learn how to coil and throw a length of rope. select a 40-foot length of 1/4 to 3/8-inch manila rope. Make sure both ends are whipped.
 Coiling the Rope – If you are right-handed, coil the line into your left hand. If you are left-handed, coil the line in your right hand.
As you loop the rope over your hand, make each successive coil a little smaller that the one before. This is important to keep the coils from fouling as they pay out when thrown.
 Preparing to Throw the Rope – To coil the rope, first secure one end of the line to your belt or loosely around your wrist. Now transfer approximately two-thirds of the coils from our non-throwing hand to your throwing hand. Next, drop one of the loops from your non-throwing hand to allow enough rope for a free swing between your hands. Hold your non-throwing hand out so that those coils will peel off smoothly.
Throwing the Rope – To throw the rope, swing the coils in your throwing hand in an arc, much like you pitch a softball. After making two or three “warm-up” swings, release the rope. a little practice will help you determine where your release point should be to get the most distance.
As the rope is released, the weight of the rope will pull the coils from your non-throwing hand until the entire rope extends out in a straight line from where you’re standing.